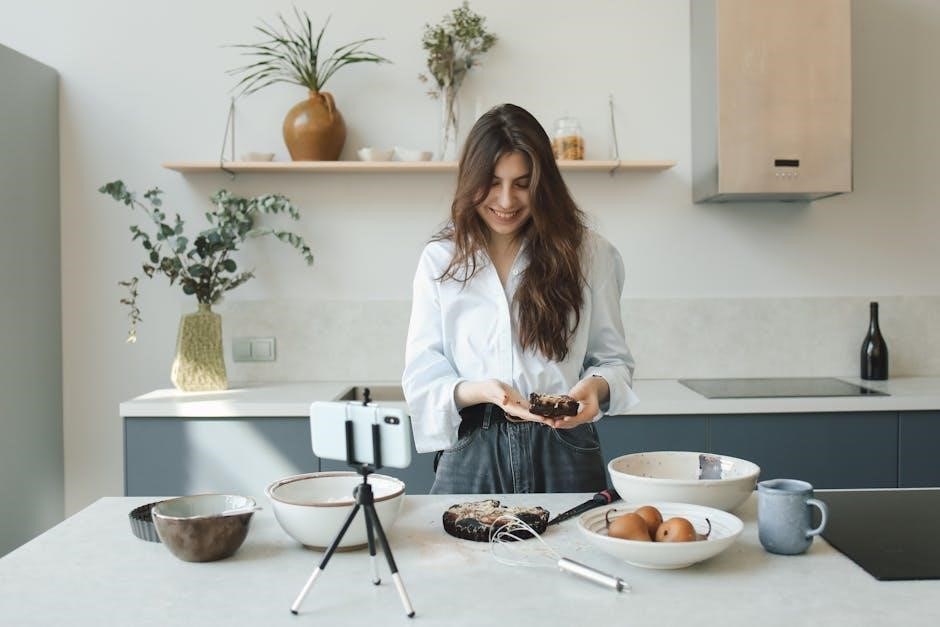
Discover the art of crafting delicious Super Pretzels at home with simple ingredients and techniques. Perfect for snacks or meals‚ homemade pretzels offer a satisfying‚ buttery flavor and chewy texture that everyone will love.
1.1 What Makes Super Pretzels Unique
Super Pretzels stand out for their distinctive crust‚ achieved through a baking soda bath‚ creating a golden-brown finish. Their chewy interior and crispy exterior‚ combined with a hand-rolled texture‚ set them apart. The classic buttery flavor and optional toppings like salt or cheese enhance their appeal. Perfectly balanced in taste and texture‚ Super Pretzels offer a delicious‚ customizable snack that satisfies any craving.
1;2 Brief History of Soft Pretzels
Soft pretzels trace their origins to medieval Europe‚ where monks created early versions as a reward for prayer. The iconic twist was said to symbolize arms crossed in prayer. Brought to America by German immigrants‚ soft pretzels became a beloved snack‚ especially in Pennsylvania. The baking soda bath technique emerged‚ creating their signature crust. Over time‚ Super Pretzels evolved‚ blending tradition with modern flavors‚ remaining a timeless favorite worldwide.
Essential Ingredients for Super Pretzels
Key ingredients include warm water‚ active dry yeast‚ sugar‚ all-purpose flour‚ baking soda‚ and coarse salt. These basics create the perfect dough for a soft‚ chewy pretzel.
2.1 Basic Ingredients List
The fundamental ingredients for Super Pretzels include 1 cup of warm water‚ 2 teaspoons of active dry yeast‚ 1 tablespoon of sugar‚ 3 cups of all-purpose flour‚ 1/2 cup of baking soda‚ and coarse salt for seasoning. These components ensure a soft‚ chewy interior and a golden‚ crispy exterior. Optional additions like butter or toppings can enhance flavor but are not essential for the classic recipe.
2.2 Optional Toppings and Seasonings
Elevate your Super Pretzels with optional toppings like coarse salt‚ sesame seeds‚ or poppy seeds for added texture and flavor. Melted butter brushed on after baking enhances richness. For a savory twist‚ sprinkle garlic powder or dried herbs. Experiment with creative combinations to match your taste preferences‚ making each batch uniquely delicious and personalized to your liking.
Equipment Needed for Pretzel Making
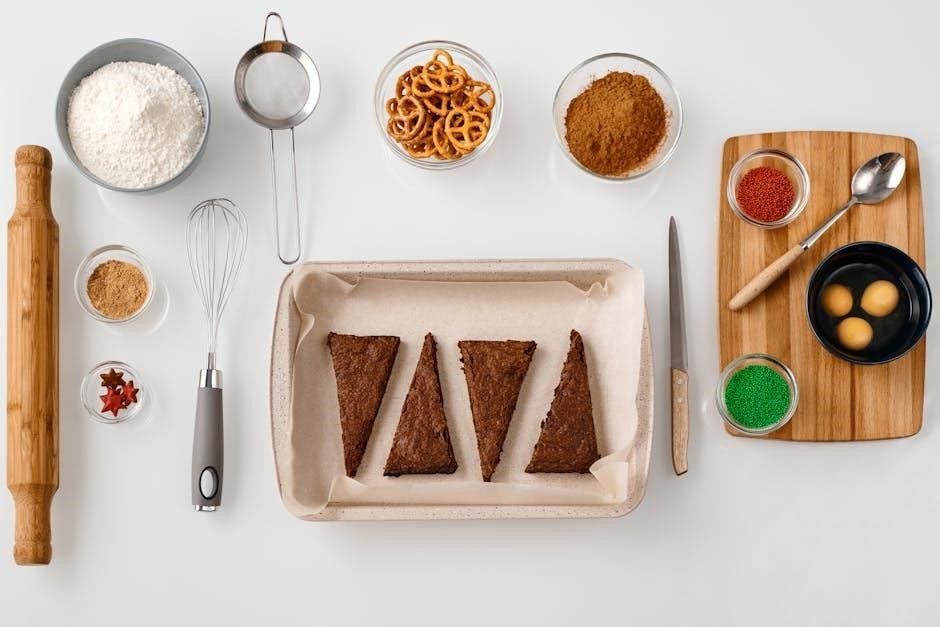
Gather essential tools like a large mixing bowl‚ measuring cups‚ a stand mixer or wooden spoon‚ baking sheets‚ and a large pot for boiling. These basics ensure a smooth process.
3.1 Basic Kitchen Tools
To start‚ you’ll need a large mixing bowl for combining ingredients‚ measuring cups for precise measurements‚ and a wooden spoon or stand mixer for mixing dough. A clean‚ lightly floured surface is essential for kneading. Baking sheets lined with parchment paper are necessary for shaping and proofing pretzels. A large pot is required for boiling the pretzels in a baking soda bath‚ a crucial step for achieving the signature crust. Additionally‚ a slotted spoon helps in gently placing and removing pretzels from the boiling water. Ensure all tools are clean and ready before beginning to streamline the process and avoid delays. Properly organizing your tools will make the pretzel-making experience more enjoyable and efficient. By having these basic kitchen tools on hand‚ you’ll be well-prepared to create delicious homemade pretzels with ease.
3.2 Advanced Equipment for Professional Results
For professional-quality pretzels‚ consider investing in a stand mixer with a dough hook attachment for efficient kneading. A proofing oven ensures consistent rising temperatures‚ while a commercial-grade boiler or double boiler helps maintain precise water temperatures during boiling. An industrial baking oven with steam injection can enhance crust formation‚ and a pretzel former or laminator simplifies shaping. These tools elevate your pretzel game‚ offering consistency and scalability for large batches. While optional for home bakers‚ they are invaluable for achieving professional results.
Preparing the Dough
Activate yeast in warm water with sugar‚ then mix in flour‚ salt‚ and melted butter. Knead until smooth‚ elastic dough forms‚ ready for shaping into pretzels.
4.1 Activating the Yeast
Start by combining warm water (around 80°F to 110°F) with sugar and active dry yeast. Stir gently and let it sit for 4-5 minutes until frothy and bubbly‚ ensuring the yeast is active and ready for dough preparation. Proper activation ensures the dough will rise evenly‚ giving your pretzels the right texture and structure. This step is crucial for achieving soft‚ airy pretzels.
4.2 Mixing and Kneading the Dough
Combine the activated yeast mixture with flour‚ salt‚ and melted butter in a large bowl. Mix until a dough forms‚ then knead on a floured surface or using a stand mixer with a dough hook attachment. Knead for 8-10 minutes until smooth and elastic. Proper kneading ensures the dough develops gluten‚ giving pretzels their chewy texture and structure. Avoid overworking to keep the dough soft and pliable.
Shaping the Pretzels
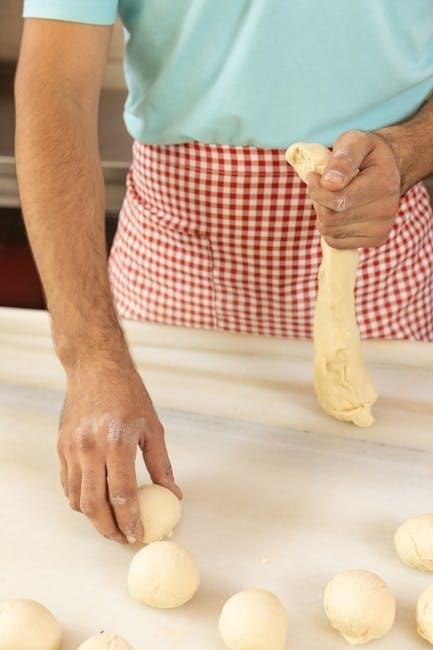
Divide the dough into 8-10 equal portions. Roll each into a 12-14-inch rope. Form the classic pretzel shape by looping the rope‚ crossing the ends‚ and tucking them under. Ensure the ends are sealed to prevent separation during cooking. Lightly flour the surface to prevent sticking. After shaping‚ let the pretzels rest briefly to relax the gluten before boiling or baking. This step is crucial for achieving the right texture and appearance.
5.1 Forming the Dough into Strips
Divide the dough into 8-10 equal pieces. Roll each piece into a long rope‚ approximately 12-14 inches in length. Gently stretch and pull the dough to form uniform strips‚ ensuring even thickness. Place the strips on a lightly floured surface to prevent sticking. This step prepares the dough for shaping into the iconic pretzel form. Keep the dough strips covered to maintain moisture and flexibility.
5.2 Creating the Classic Pretzel Shape
Once the dough is rolled into long ropes‚ form the classic pretzel shape by creating a loop. Bring the ends together‚ crossing them over to create the signature twist. Press the ends gently to seal. Ensure the pretzel is symmetrical for an even bake. This traditional shape enhances both appearance and flavor‚ making it perfect for snacking or serving with dips. The twisted design also helps the pretzel cook evenly.
Proofing the Dough
Place the shaped dough in a warm‚ draft-free area to rise. Cover with a clean towel and let it rest until doubled in size‚ about 30 minutes.
6.1 Allowing the Dough to Rise
After shaping‚ place the dough in a warm‚ draft-free area to rise. Cover it with a clean towel or plastic wrap to prevent drying. Let it rest for 30-45 minutes‚ or until it doubles in size. Ensure the environment is warm‚ as this promotes yeast activity and even fermentation. Proper rising is crucial for a light‚ airy texture in your Super Pretzels.
6.2 Tips for Even Proofing
- Ensure the dough is placed in a consistently warm environment‚ ideally between 75°F and 80°F‚ to promote even rising.
- Keep the dough away from drafts to maintain steady proofing conditions.
- Gently rotate the dough halfway through proofing to ensure even expansion and prevent uneven shapes;
- Use a lightly oiled surface or parchment-lined tray to prevent sticking while allowing the dough to rise evenly.
Boiling the Pretzels
Boiling the shaped pretzels in a baking soda bath is crucial for creating their signature chewy crust and golden color. It ensures proper texture and flavor development before baking.
7.1 Preparing the Baking Soda Bath
To prepare the baking soda bath‚ dissolve 1/2 cup of baking soda in 9 cups of water. Bring the mixture to a boil in a large pot‚ stirring occasionally to ensure the soda dissolves evenly. This step is essential for creating the pretzels’ signature chewy crust and golden-brown color. Once boiling‚ reduce the heat slightly to maintain a steady simmer before adding the pretzels.
7.2 Boiling Techniques for the Perfect Crust
Gently add pretzels to the boiling baking soda bath‚ ensuring they are fully submerged. Boil for 20-30 seconds on each side‚ or until they develop a golden-brown crust. Avoid overcrowding the pot to prevent sticking. Use a slotted spoon to remove pretzels‚ allowing excess water to drain. This step is crucial for achieving the signature chewy texture and flavorful crust that defines a perfect Super Pretzel.
Baking the Pretzels
Preheat the oven to 400°F. Place boiled pretzels on a parchment-lined baking sheet. Bake for 12-15 minutes until golden brown. This ensures a crispy crust.
8.1 Oven Temperature and Baking Time
Preheat your oven to 400°F (200°C) for optimal baking. Place the boiled pretzels on a parchment-lined baking sheet‚ leaving space for even cooking. Bake for 12-15 minutes‚ or until golden brown. Monitor closely to avoid overcooking. Proper temperature and timing ensure a crispy crust and soft interior‚ essential for perfect Super Pretzels.
8.2 Achieving the Golden-Brown Finish
For a golden-brown finish‚ brush pretzels with egg wash or melted butter before baking. Sprinkle with salt immediately after boiling. Rotate the tray halfway through baking to ensure even browning. Keep an eye on the pretzels during the last few minutes‚ as they can quickly go from golden to burnt. This step enhances both color and flavor‚ giving your Super Pretzels a professional appearance.
Finishing Touches
Add the final touches to your Super Pretzels by salting or buttering them immediately after baking. This enhances flavor and texture‚ ensuring a delicious‚ authentic finish.
9.1 Salting the Pretzels
For an authentic flavor‚ sprinkle coarse salt over pretzels immediately after boiling or baking. This step enhances both taste and texture‚ creating that classic‚ savory pretzel experience. Use a flaky or pretzel salt for the best results‚ as it adheres well and adds a delightful crunch. Salt generously but evenly to ensure every bite is perfectly seasoned.
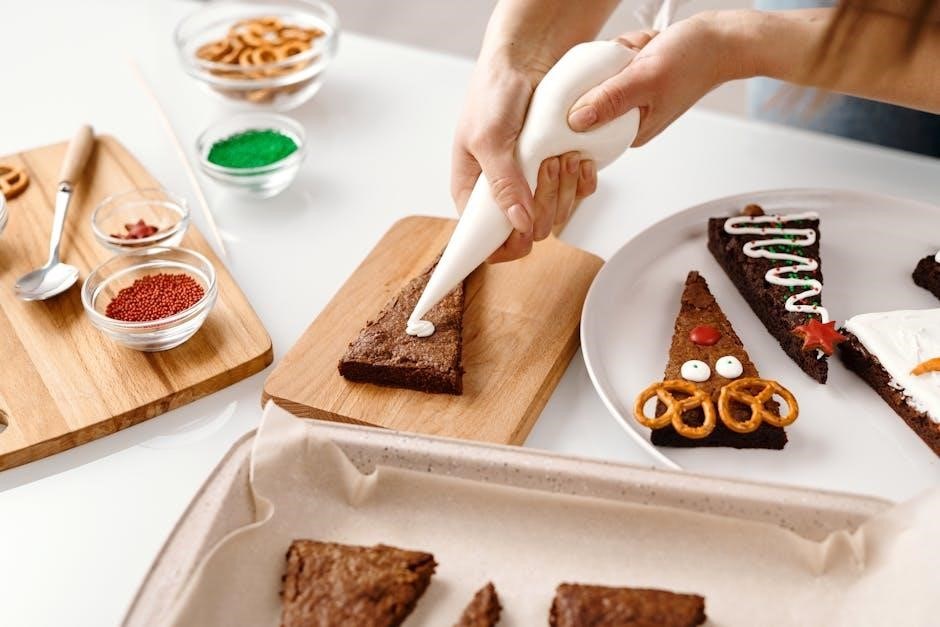
9.2 Adding Butter or Other Toppings
Enhance the flavor of your pretzels by brushing them with melted butter while still hot. This step adds richness and ensures toppings adhere. For extra flavor‚ sprinkle with cheese‚ sesame seeds‚ or cinnamon sugar immediately after buttering. Experiment with various seasonings to create unique taste profiles. This final touch elevates your homemade pretzels to a delicious‚ professional-quality snack.
Serving Suggestions
Super Pretzels are perfect as a warm snack with dips like cheese sauce or mustard. They also pair well with soups or as a side for sandwiches. Alternatively‚ try them on a platter with other snacks or as a base for creative appetizers‚ adding a delicious twist to any meal.
10.1 Classic Pairings
Super Pretzels are a timeless snack that pairs perfectly with classic dips like creamy cheese sauce‚ tangy mustard‚ or rich caramel. For a more hearty option‚ serve them alongside soups such as tomato soup or chili. They also complement sandwiches and salads‚ adding a satisfying crunch. These versatile pretzels are a crowd-pleaser at parties‚ picnics‚ or casual gatherings‚ offering a delicious and convenient treat for any occasion.
10.2 Creative Ways to Serve Pretzels
Step beyond traditional dips and try unique twists! Use Super Pretzels as a crust for mini quiches or as croutons in fresh salads. For dessert‚ dip them in melted chocolate and sprinkle with sea salt. They also make a great base for sliders or as a crunchy topping for mac and cheese. Get creative by stuffing pretzels with cheese‚ bacon‚ or herbs for a savory surprise. Perfect for breakfast‚ snacks‚ or even as a charcuterie board addition!
Variations and Customizations
Explore customization options like cheese-filled pretzels‚ stuffed twists‚ or gluten-free versions. Add herbs or spices for extra flavor to create unique and delicious variations.
11.1 Cheese-Filled or Stuffed Pretzels
Add a creamy twist to your pretzels by stuffing them with cheese. Melted mozzarella or cheddar inside the dough creates a gooey‚ savory surprise. For an extra burst of flavor‚ mix herbs like parsley or garlic into the cheese before sealing the pretzel. Bake until golden and serve warm for a delightful treat that combines soft dough with cheesy goodness.
11.2 Gluten-Free or Vegan Pretzel Options
For dietary restrictions‚ try gluten-free or vegan pretzels. Replace wheat flour with gluten-free alternatives like rice or almond flour; Use non-dairy milk and vegan butter or oil. Eggs can be substituted with flaxseed or applesauce. Yeast remains the same‚ but ensure it’s vegan-friendly. Shape and bake as usual‚ adjusting leavening agents if needed. These options offer a delicious‚ inclusive twist for everyone to enjoy.
Troubleshooting Common Issues
Identify and solve common pretzel-making problems‚ such as dough that doesn’t rise or pretzels that are too dense. Adjust yeast‚ temperature‚ and baking time for better results.
12.1 Why Pretzels May Not Rise
Pretzels may fail to rise due to inactive yeast‚ incorrect temperatures‚ or insufficient sugar. Ensure yeast is fresh and active‚ water is warm but not hot‚ and sugar is present to feed the yeast. Overmixing dough can also kill yeast activity‚ leading to dense pretzels. Check these factors to achieve proper rise and texture.
12.2 Fixing Overcooked or Undercooked Pretzels
If pretzels are overcooked‚ they may become dry or brittle. Brush with melted butter or oil to restore moisture. For undercooked pretzels‚ bake a few minutes longer or increase oven temperature slightly. Adjust baking time or temperature for future batches to achieve the perfect texture. Proper timing ensures soft‚ chewy interiors and golden exteriors.
Storage and Reheating
Store fresh pretzels in an airtight container at room temperature for up to 2 days. For reheating‚ bake at 350°F (175°C) for 5-7 minutes or microwave for 10-15 seconds to restore softness and flavor.
13.1 How to Store Fresh Pretzels
Freshly baked pretzels should be stored in an airtight container or plastic bag at room temperature to maintain softness. For longer shelf life‚ wrap tightly and refrigerate for up to 5 days‚ but avoid direct sunlight and moisture. Freezing is also an option; place in a freezer-safe bag for up to 3 months. Always reheat before serving for the best taste and texture.
13.2 Best Methods for Reheating Pretzels
Reheat pretzels by baking them in a preheated oven at 350°F (175°C) for 5-7 minutes until warm and lightly crisped. For a softer texture‚ wrap in foil during reheating. Microwaving is quick—20-30 seconds per pretzel—but may affect texture. Air fryers also work well at 300°F (150°C) for 3-4 minutes. Brush with water and sprinkle with salt before reheating for extra freshness and flavor. Baking is the best method for crispy results.
Crafting Super Pretzels is a delightful process that combines tradition with creativity; Enjoy the satisfaction of homemade treats‚ perfect for sharing with family and friends‚ and savor the joy of cooking.
14.1 Final Tips for Perfect Super Pretzels
For flawless Super Pretzels‚ ensure yeast is activated properly in warm water. Use high-quality flour for elasticity and a tender crust. Don’t overwork the dough‚ as it can become dense. When boiling‚ avoid overcrowding the pot to prevent sticking. Bake until golden brown‚ and sprinkle with salt immediately. These tips guarantee soft‚ chewy‚ and perfectly shaped pretzels every time‚ enhancing your baking experience.
14.2 Encouragement to Experiment and Enjoy
Embrace the joy of Super Pretzel cooking by experimenting with flavors and shapes. Try adding cheese‚ herbs‚ or spices for unique twists. Don’t be afraid to innovate—soft pretzels are versatile and fun to customize. Share your creations with friends and family‚ and enjoy the satisfaction of crafting something delicious from scratch. Happy baking and savor the warmth of homemade goodness in every bite!